How computers work – laptop assembly
Introduction – how manufacturers assemble a laptop – how computers work
Let’s introduce you first of all to how to assemble a laptop and explain how laptop computers work. Before you can begin to to troubleshoot hardware problems with any laptop it’s important that you understand how they are actually assembled by the different manufacturers. As we will see next, laptop assembly follows a system and a pattern.
Have a look at this picture of an exploded laptop below:
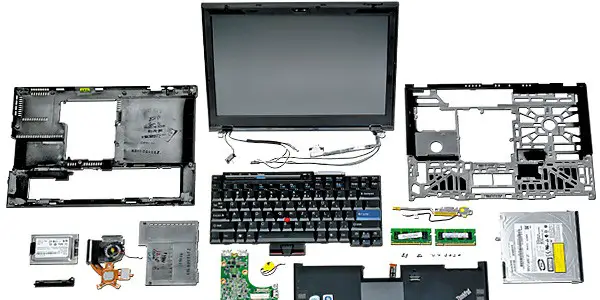
We do not own this diagram and we respect all copyright to the original owner.
Despite all of the numbers depicting the different parts, you can actually envisage the laptop in simple separate parts and to use a useful analogy for the moment try and imagine a cheeseburger.
Using an analogy to show how to assemble a laptop – the cheeseburger
These are the parts of the cheeseburger. we have:
- the outer bun
- the gerkins or onions layer
- top cheese layer
- the top burger
- a layer of cheese again
- another burger
- the bottom part of the bun
This is not too dissimilar a description to that of most laptops.
To describe how computers work, in other words how most laptop computers are built, they have:
-
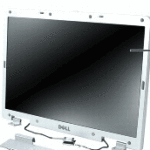 the top part of the case that contains the screen (the top bun)
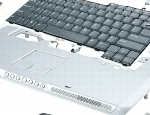
- the keyboard bezel or hinge plate cover (HPC) (the gherkins and onions)

- the keyboard (the top cheese)

- the top part of the lower case (the top burger)
- the motherboard (the next cheese layer)

- the components such as the hard drive etc (the bottom burger)
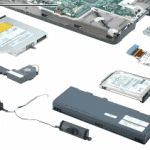
- the bottom part of the lower case
“This analogy describes the majority of laptops and how they are assembled. Bear in mind that this is a rule of thumb as manufacturers tend to have their own versions but whenever you approach a laptop you have never seen before you should feel confident that you will recognize the different parts as shown above.“
Taking a laptop apart – the disassembly / teardown
In order to build your confidence in how laptops are assembled we are next going to look at something called a Laptop ‘Teardown’ which is the name given to the Laptop disassembly process. A Laptop ‘Teardown’ essentially describes a process where every part of a laptop is stripped down and taken away from every other part and you will end up with each part laid out on your table or workbench in front of you.
Before you proceed it is recommended that you obtain both a practice laptop that you can carry out your teardown on and also an appropriate set of tools. This way you will be able to get some hands on practice at how to disassemble a laptop. Not to worry if you can’t get your hands on one right now but you can always come back at a later time to this tutorial.
The majority of laptops can be taken apart in 8 easy steps. Let’s look at them now…


