The PC Boot Process
Regardless of the Operating System that install to your computer the first part of any computer boot process is that your turn it on. It is worth noting at this this point that we have just seen our first potential point of failure – the power on button. Bear this in mind for troubleshooting.
There will be a power cord plugged into the PC Power Supply, the purpose of the power supply is to smooth and change the electricity from the mains to something that is usable by the PC. In fact if you take a look at computer power supply you will notice that there are several different colored cables with different types of connector and these actually provide differing amounts of voltage to the computer as the computer uses different voltages and not just one.
Once the electricity has passed through the Power Supply the signal from the electricity will have changed from the standard main Alternating Current (AC) type to Direct Current (DC). This DC is then used to power to the various Motherboard components such as the CPU, RAM BIOS and Hard Disk Drive(s).
As soon as the computer recognizes that it has received power the very first thing a computer will do is to invoke a program that has been pre-programmed into the BIOS chip (this is called FIRMWARE i.e it is built into the chip itself during the manufacturing process) called the Power On Self Test, or POST for short.
What is the computer POST?
The computer POST (Power On Self Test) will run a simple test on all of the essential hardware components inside the PC when it is powered on. It is important to note here that not all hardware is checked, just the parts that are required to run the computer at a basic level. Printers and external Hard Drives for example are not checked.
If the POST does not detect any hardware errors then it will produce a short beep and continue the next stage – the boot sequence.
The PC BOOT SEQUENCE
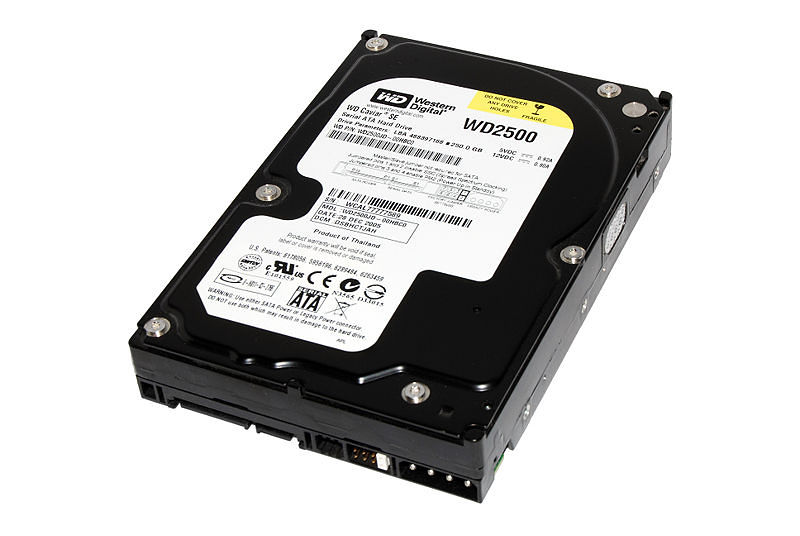
The PC boot sequence will search your computer for a bootable device. This is usually your computer Hard Drive that contains an Operating System but it could also boot from a USB stick or a CD/DVD as we shall see during other parts of our troubleshooting tutorials at TekMoz.
The precise sequence that the computer will boot to can be set in the BIOS.
Typically computers will try and boot in this sequence:
1. DVD/CD Drive
2. Hard Drive
3. Network
Remember that this sequence can be changed in the BIOS but what our example shows us is that the computer will first try and boot from a DVD/CD drive. If there is a disk in the drive the following message (or similar) will be displayed
Press any key to boot from CD ..
As you would expect, pressing any key will not activate the contents of the CD/DVD and these contents are bootable then this will become the boot device.
If no key is pressed our boot sequence will then move onto the next item in the list which is the Hard Drive.
Booting from a Hard Drive
The Boot Sequence will now read the Master Boot Record from the Hard Drive. The MBR will determine which of the partitions the active partition is, this is the partition that has the Operating System installed to it. The MBR will contain a section called the Boot Sector will then load into memory which will then in turn start up the Operating System by loading a file into memory. With Windows XP this file was called the NTLDR (NT Loader) but has more recently (with Windows Vista) changed to BOOTMGR.
Summary
From this point on the boot process will vary from Operating System to Operating System but to summarize the process so far:
— Power On —–
— The POST is triggered and starts from the BIOS —
— The boot device is selected as per BIOS settings —
— the active partition with the OS is read —
— the OS is loaded into memory —


